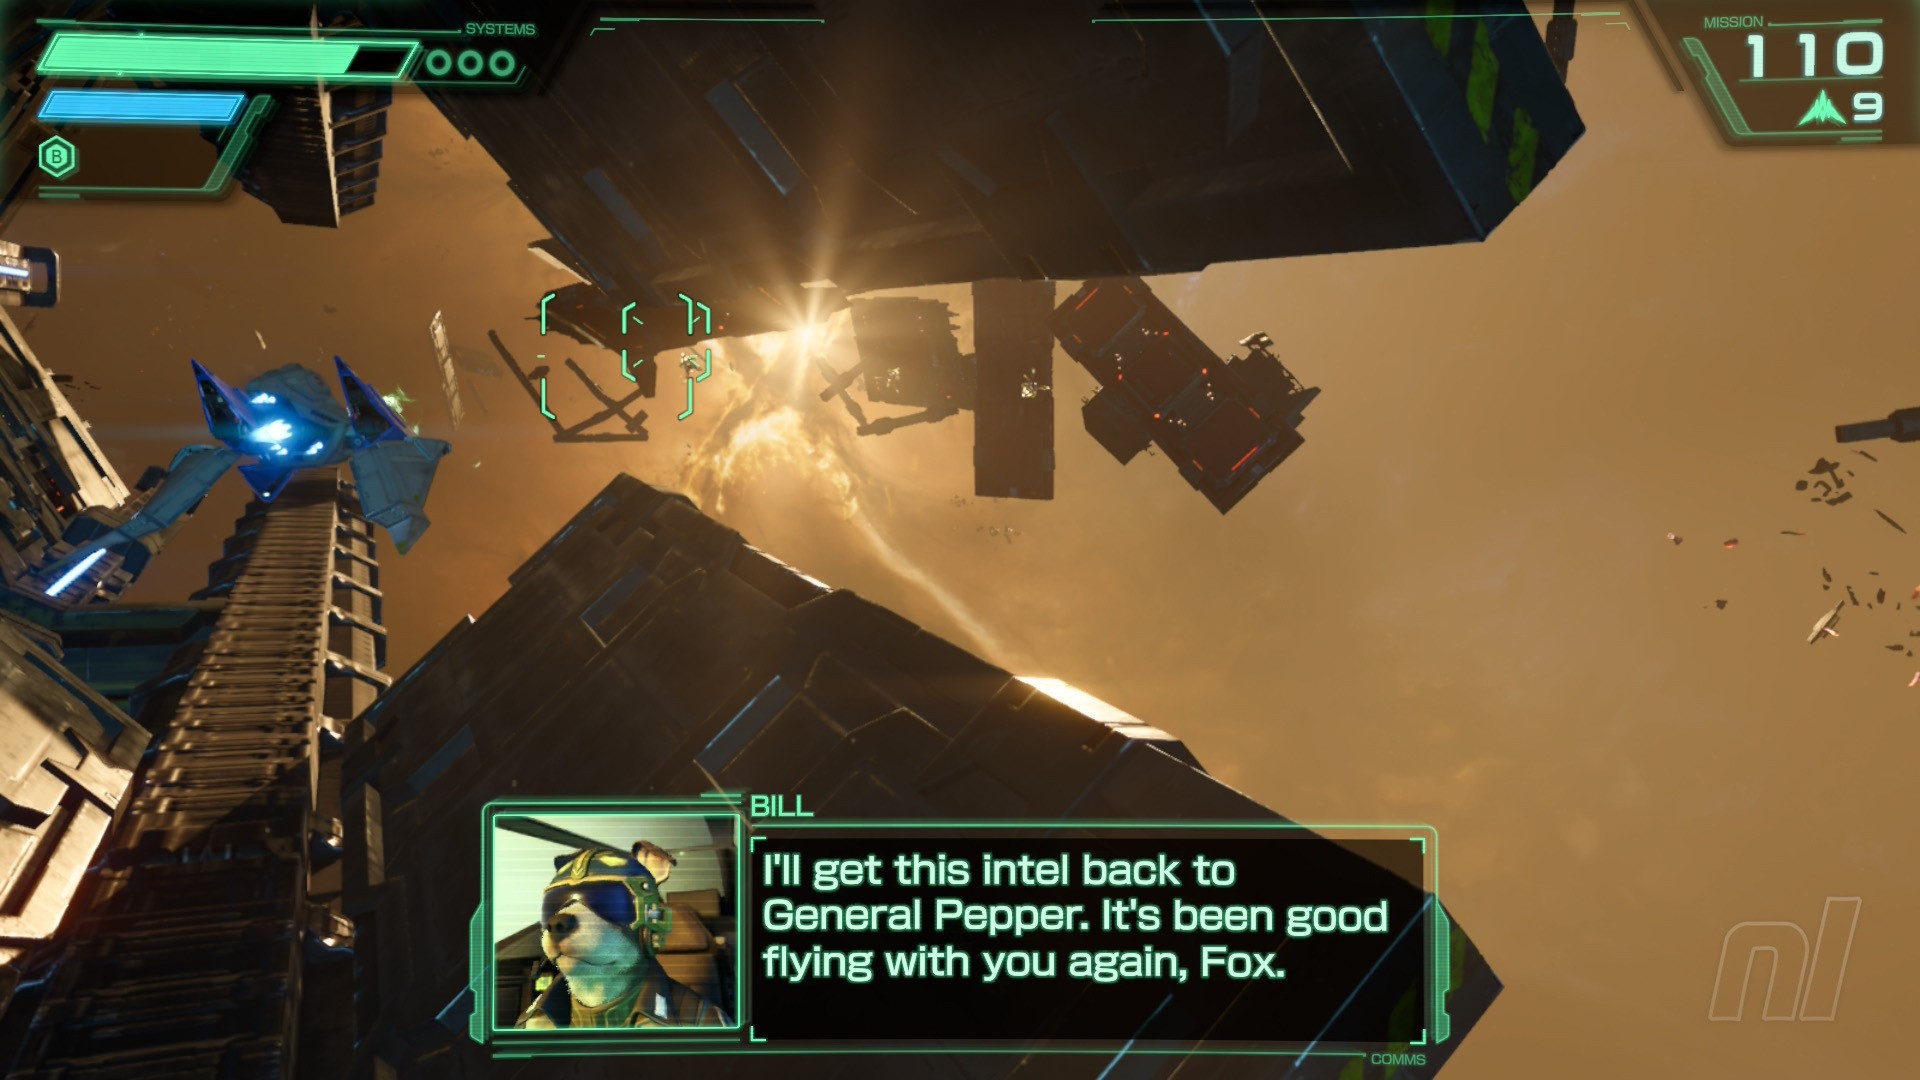






I’ve always been a champion of Fox and the gang, from resolutely defending the merits of Command on the DS to battling through Star Fox Zero’s janky multiplayer in anticipation for the team’s glorious return on the Switch 2, but nothing could’ve prepared me for quite how obsessed I’ve been with Velan Studio’s sublime Star Fox 64 remake since its launch six odd weeks ago.
I’ve finally checked off every medal and challenge in the game and as I repeatedly tore through Venomian forces with the ferocity of a London fox ravaging the food bins on the eve of collection day, one thought began to consume me: “What’s the best route to inflict maximum damage on Andross, permanently disable his operation, and ensure total victory for Corneria?”
Subscribe to Nintendo Life on YouTube850k
So here it is – Star Fox’s most venomous route to Venom. It should probably go without saying but FULL GAME SPOILERS AHEAD. With that said, let’s fire up the Arwings – the future of Lylat depends on us getting this just right.
Beginning at The End
There are a staggering 25 routes through the game which ultimately lead to one of two possible endings. If we are to take down Andross and wipe out his forces we need to take down his true form, accessed through Area 6 and the path it opens up to Venom 2.
This means we immediately lose the option to clear three of our 16 levels: the decoy path on Venom (1) leading to Andross’ mech form; the planet’s defence satellite, Bolse, as this can only lead to said decoy path; and the planet Titania as the only path it offers after clearing it goes to Bolse.
Militarily speaking, there is no big loss here. Titania is actually fairly neutral when it comes to the campaign – a planet with an ancient defence system that has Venomian scouts to scope out its capabilities, but offers no current tactical advantage to Andross. I’m marking it down as ‘minimal threat’.
Same goes for the Bolse satellite. It’s deployed to intercept forces on the way to Venom and essentially acts as a planetary warning system, not exactly mobile, virtually non-existent long-range offensive capabilities, and probably powers down once Venom falls. Another ‘minimal threat’.
The only real shame here is not getting the pleasure of battling through the trenches of Venom’s ground forces, but these combatants are planet side and a last line of defence, not a key offensive threat. They can be swept up after the real danger is taken down. Plus, the Venom 2 route offers a much more satisfying combat operation before the decisive battle, but more on that later.
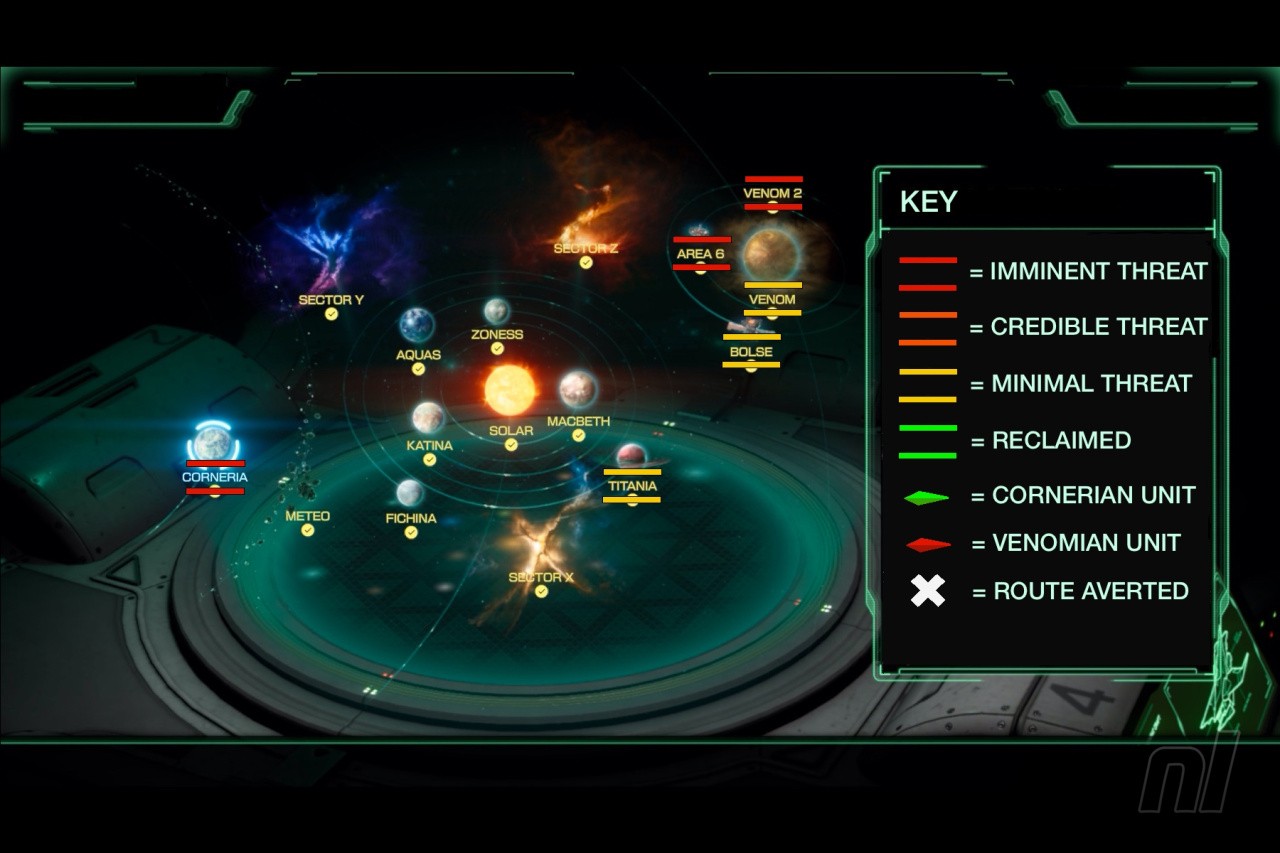
So we know where we don’t want to go, and I’ve marked up this custom map highlighting the minimal threat of the stages we are avoiding, but there are more than a dozen routes to where we do want to get to – so let’s warp-gate back to the beginning and answer the call on Corneria.
The first line of defence
Both Corneria exits offer a path through to the end game we want, so let’s instead focus on the imminent threats to Corneria itself – the Granga Urban Assault mech and the Attack Carrier.
The Holoviewer informs us the the Attack Carrier is both interplanetary and adept at dropping fighters behind enemy lines, so let’s stop it deploying once and for all and leave the Granga to the Cornerian Army to sweep up once we’re in orbit. All they’ve got to do is shoot its legs, for goodness’ sake.
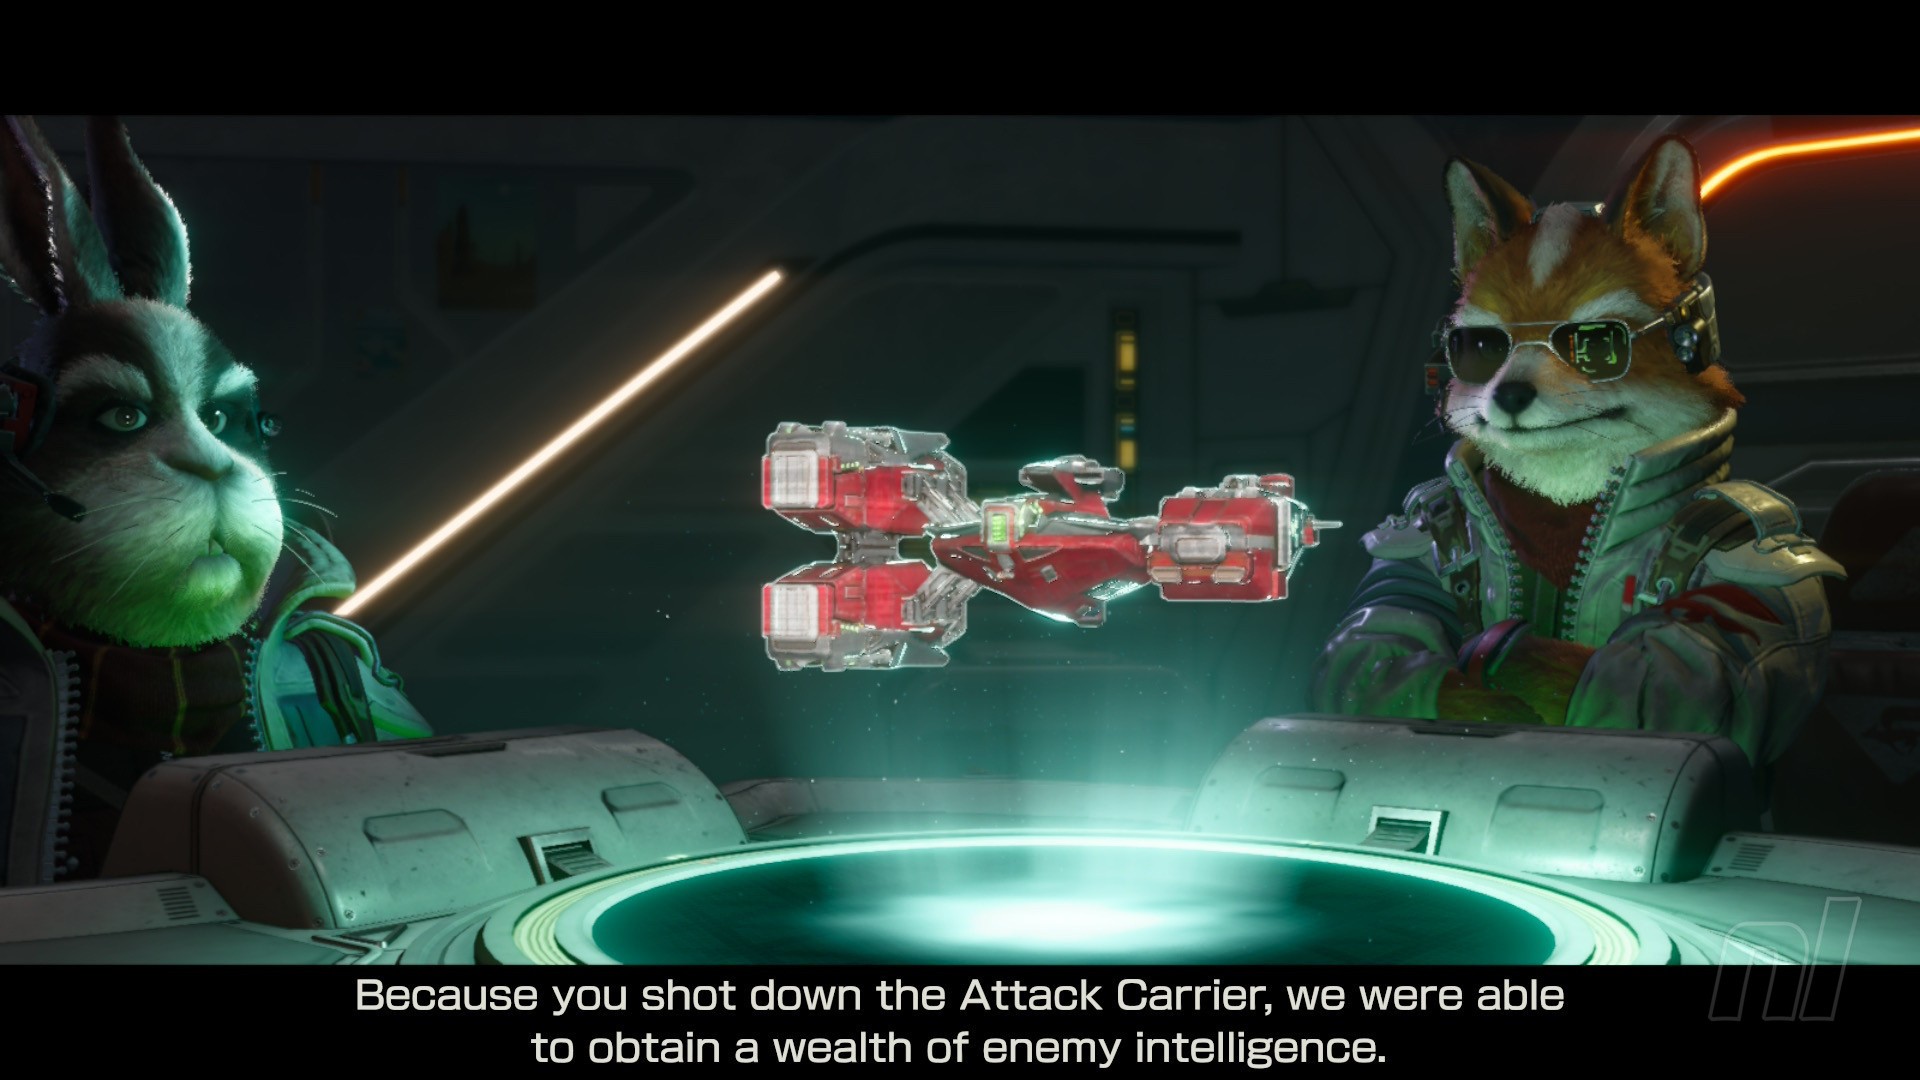
Downing the carrier reveals plans for an imminent attack on Corneria’s ‘main fleet’ in Sector Y. Peppy points out that Andross’ forces could be using Meteo as a staging area for invasion, but it is an asteroid belt – realistically it will take down some of the attacking threat through collisions alone. Plus, with potential reinforcements from the Attack Carrier snuffed out, Corneria’s army can hold the line should Meteo be breached. Sector Y is the bigger threat.
Choosing Sector Y over Meteo also rules out any potential path to Fichina. This is the first really tough call. Fichina is host to a Cornerian base which houses military secrets, however the enemy presence there is relatively light with a certain mercenary squad sent in to get the job over the line – feels like a trap. I’ll mark it as a credible threat but the base and its secrets can go up in smoke. It would’ve all been public knowledge in 50 odd years anyway, right?
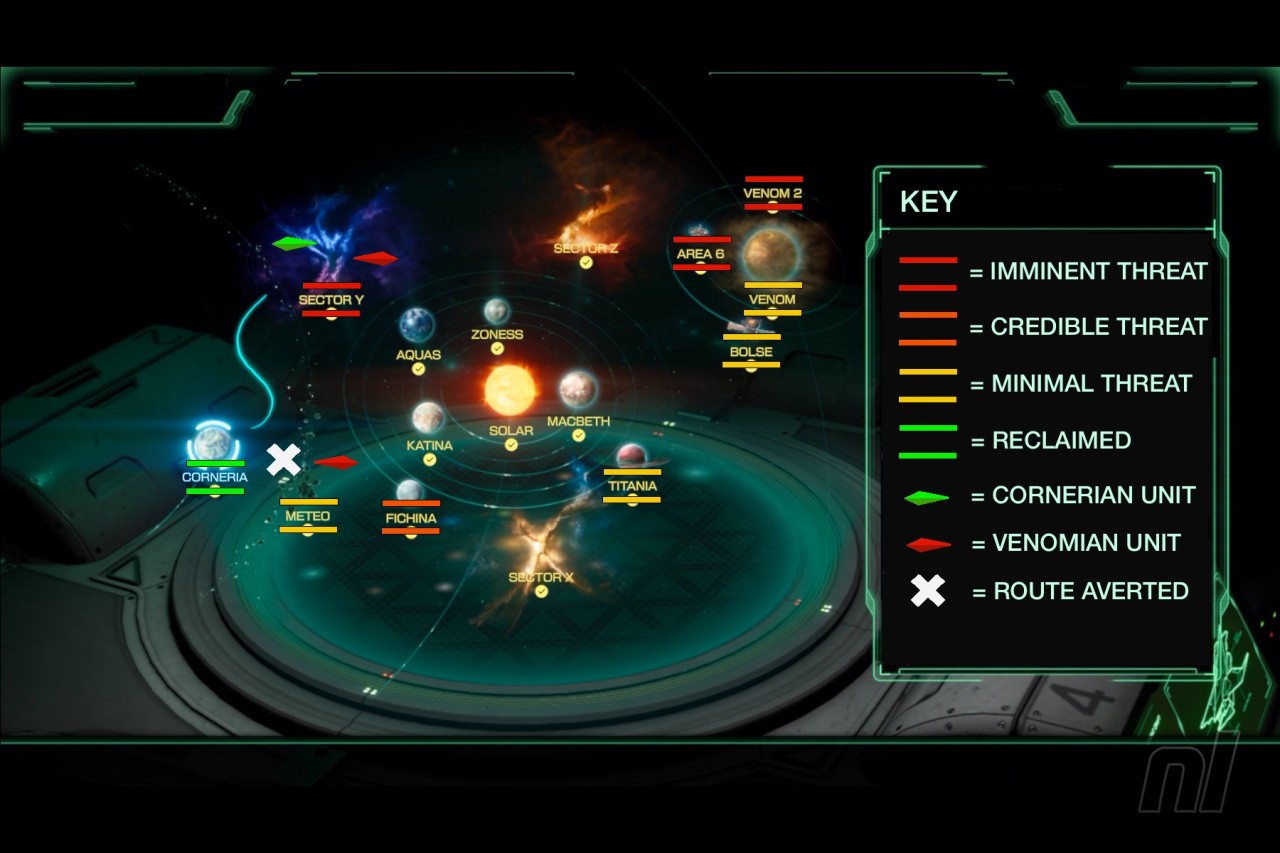
Sector Y, meanwhile, is home to Andross’ Armada spearheading his campaign toward Corneria and is protected by the Shogun – extremely efficient and deadly combat mechs. These warships would cause rapid devastation to Corneria and its military.
Tear through this before taking down the Shogun Warlord nestled within the Saruzin flagship and Andross’ front line has been decimated, his armada is in retreat and Corneria’s fleet remains at ‘full combat capability’. Our first real turning of the tide.
Hold the line
Now, I know Pepper is a respected Commanding Officer, but we’ve really got to question his judgement here.
Assuming you landed more than 100 hits in Sector Y there are two pathway options and in one breath he says that their military base on Katina is “a key strategic outpost we can’t afford to lose,” then in the next says, “but there’s also something weird on Aquas so maybe, like, check that out even though it’s tactically useless? IDK, lol, I’m crazy. *shrug emoji*” (I’m paraphrasing.)
What’s he thinking? Aquas is home to some experimental bio-weapons, but they’re all bound to the planet and pose no threat beyond it. They aren’t even at the surface! Aquas is a minimal threat and a job for a clean up crew after the war. It also means we can avoid lumbering around in the Blue Marine – hooray!
The downside of opting out of Aquas is we now cannot travel to Zoness, the planetary shipping route between Macbeth and Venom’s fleet. We could even postulate that forces retreating from Sector Y might’ve converged here to regroup and rearm. The Cornerian forces we saved in Sector Y can hold the line for now. Let’s mark it down as a credible threat to keep an eye on and head over to Katina.
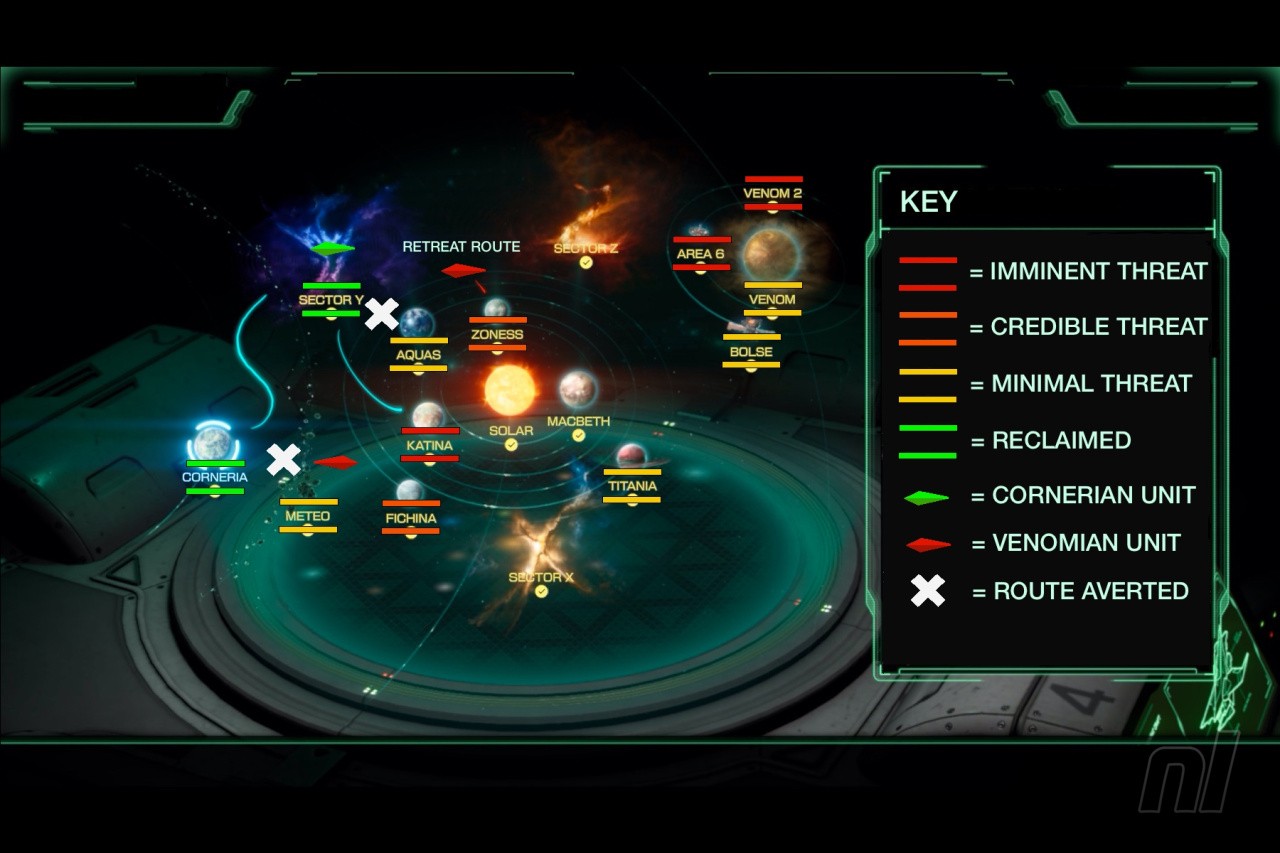
No Zoness means no Katt Monroe, but Katina at least treats us to a first appearance of a non-team ally, the maverick Bill Grey – commander of the elite Bulldog and Husky units. (Side note: How good does his Cornerian Fighter look? Great design.)
Bill and the gang are holding off a massive invasion from an extragalactic threat, the Saucerer and its Mk II Invaders, so let’s help them out. Not much more to say about this, other than for the purpose of our story we need to take down the invader before it destroys the base.
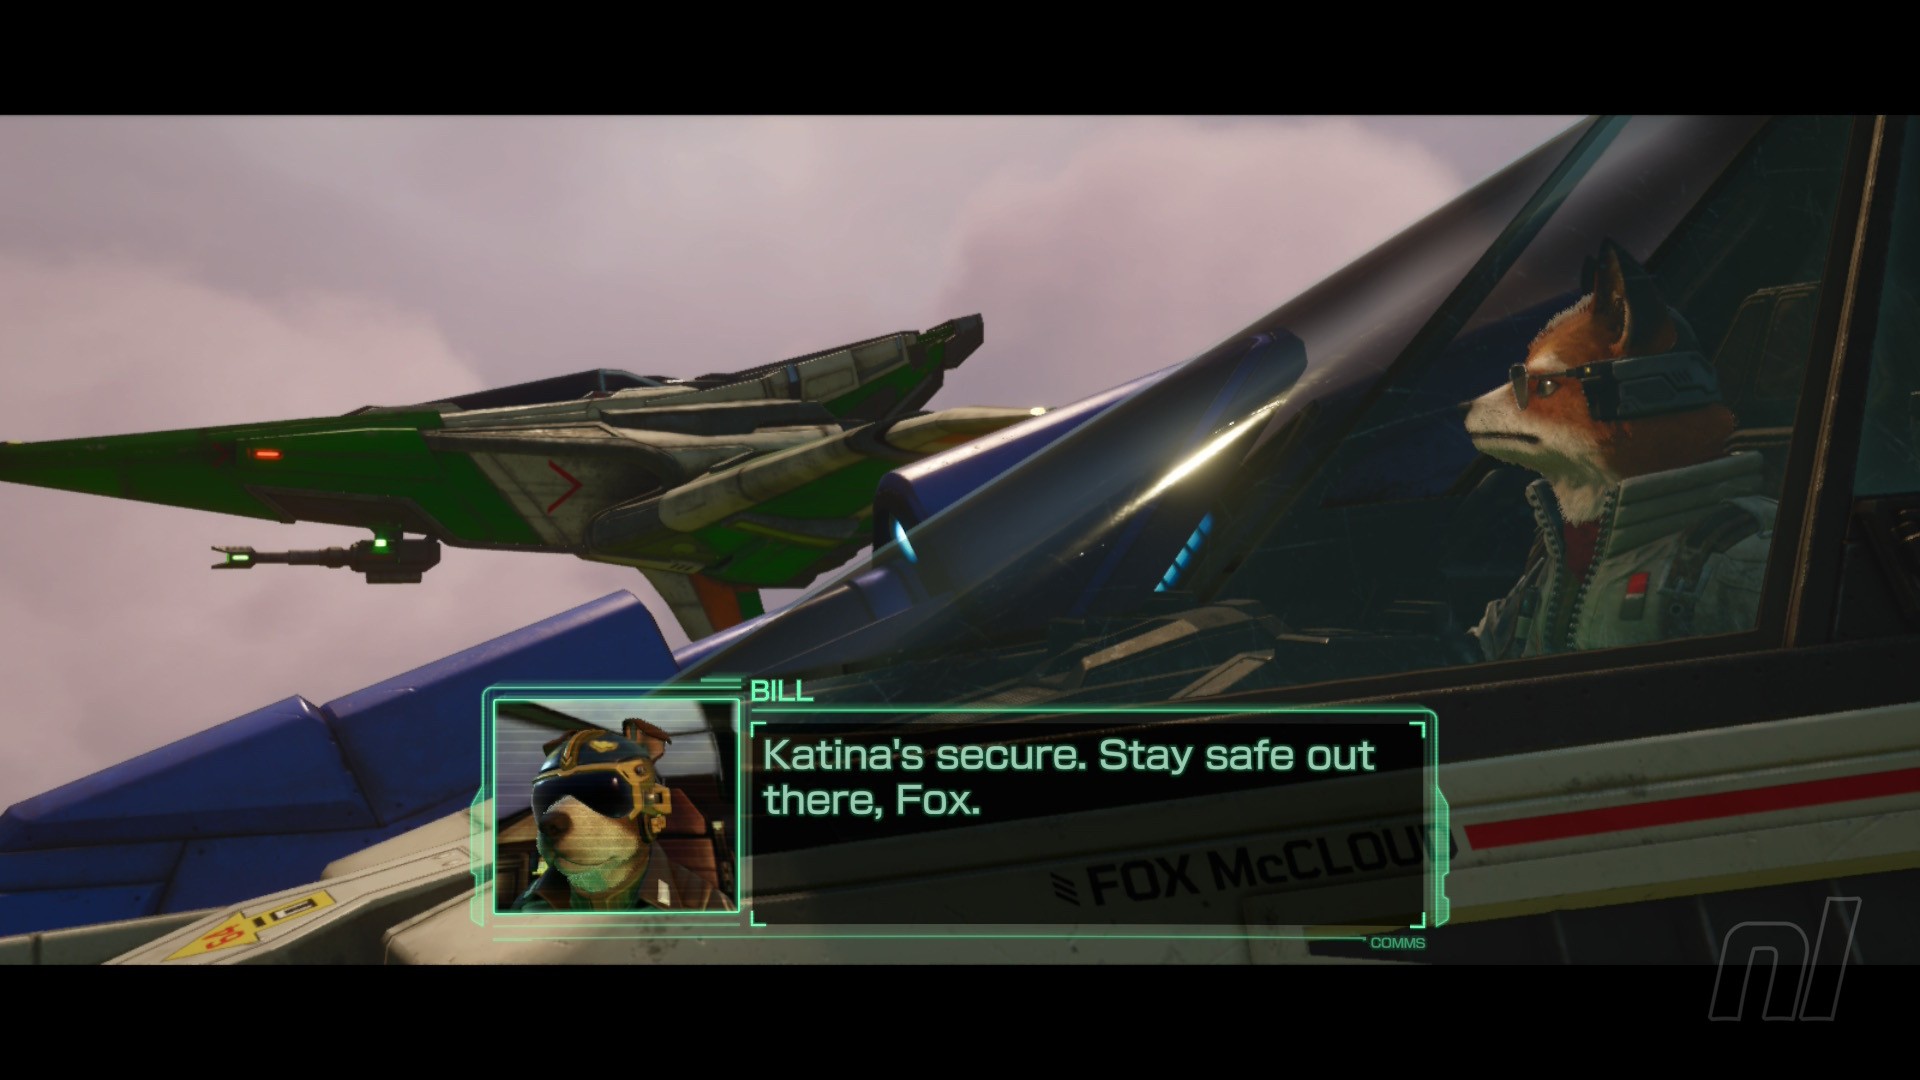
With Katina held and the base intact, the Husky Unit can rearm and deploy to clean up and retrieve any information still on Fichina while the Bulldog unit can head toward Meteo – pincering and destroying the remaining enemy forces there with ships deploying from Corneria to assist.
Combine this with the fleet in Sector Y holding off any movement at the top of the system and boom – all of a sudden a third of the Lylat System is back in Cornerian hands. We’re making progress.
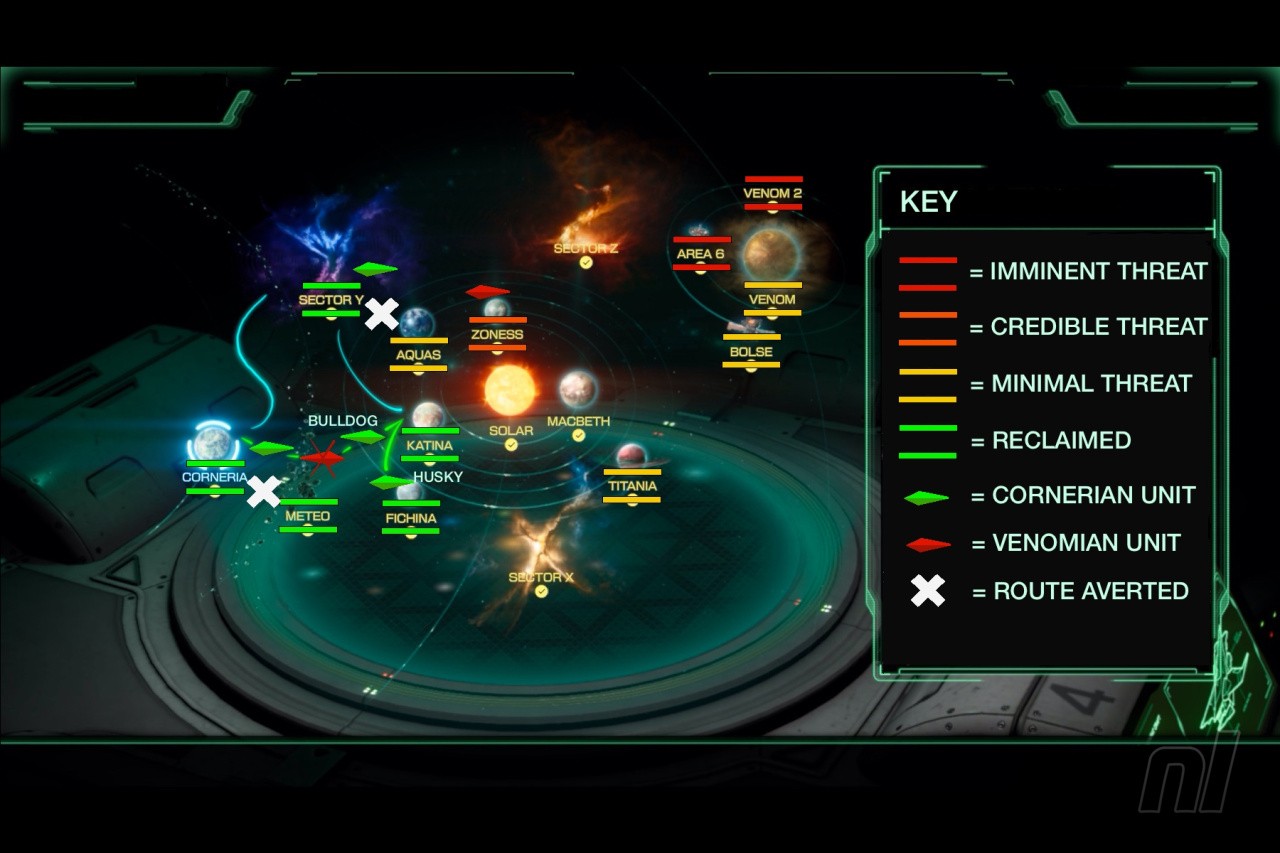
A game of two halves
Time for the assault into enemy territory. Having taken down the Saucerer before Katina’s base was destroyed presents us with two options: head to the site of Andross’ experimental base in Sector X, or literally fly into a star. Solar is very similar to Aquas in that there is a scary bio-weapon there, but it’s all locked to the surface. It’s a minimal threat and acts as a natural system barrier. We can let Vulcain chill in his big lava soup and find out what’s been going down in Sector X.
Any excuse to quickly obliterate AI is welcome here. Bill and co. can capture the rest of the base once we jet.
The experimental space station here has been working on advanced AI, wormhole technology, and weaponry “more dangerous than anything produced on Macbeth” – an imminent threat if ever I heard one. There’s a staggering three exits from Sector X and how you finish the level will determine where you end up with no choice offered, so we need to plan ahead of time.
I’ve already mentioned Titania only offering a path to Bolse, which we don’t want, so instead it’s a straight choice between Sector Z and Macbeth.
Sector Z is a galactic ship graveyard which acts as an ambushing ground and little else. Let’s keep the Great Fox out of harms way – the mortgage is steep enough as it is. Macbeth, however, is the “dark heart” of Andross’ operation, producing missiles, mechs, fighters, and a variety of munitions. It’s also the launching site for the Copperhead Missiles that are actually fired into Sector Z. Reclaim Macbeth and Sector Z becomes safer to traverse for the fleet stationed in Sector Y. The Macbeth path is it.
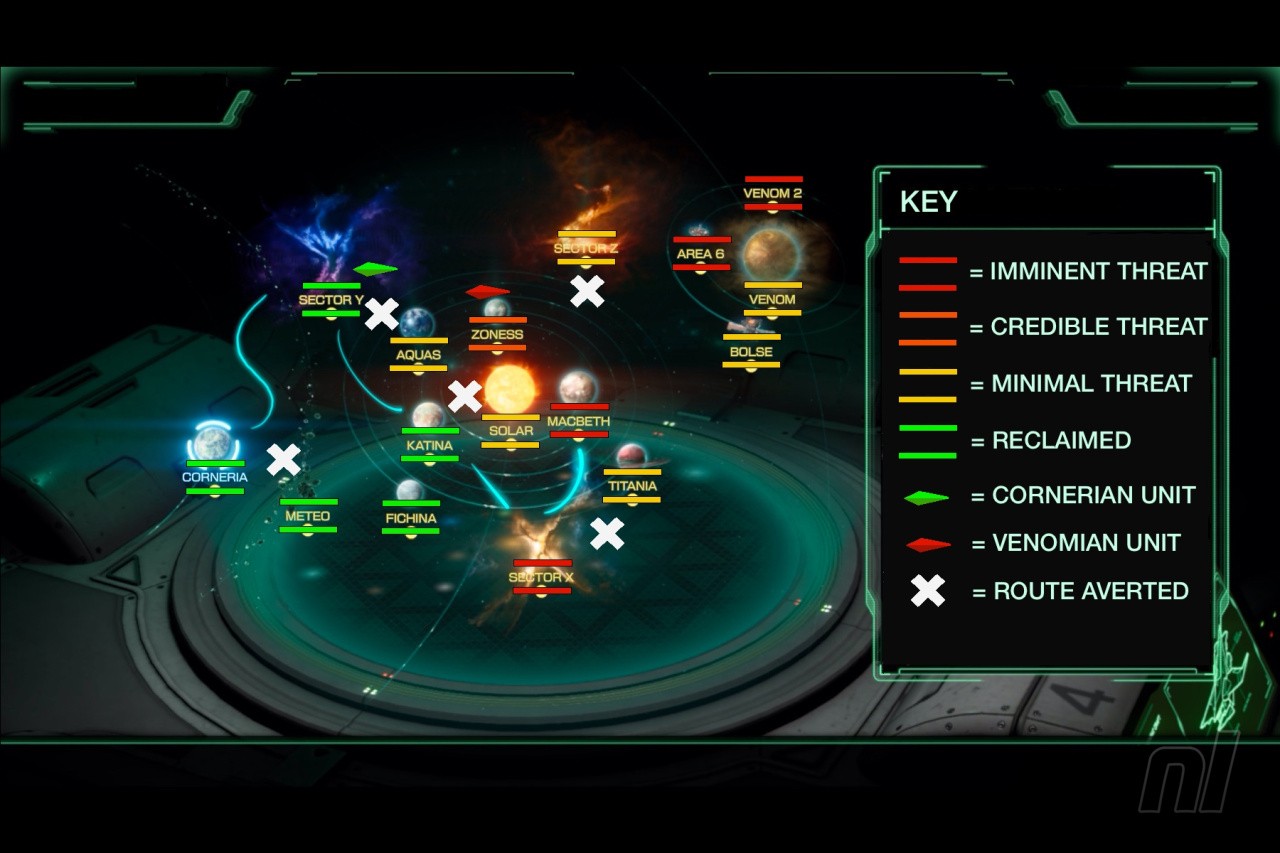
Avoid warping out of Sector X – but take the left path and shoot a few for Bill to take the intel back home, then take down the Spyborg in good time so Slippy doesn’t get taken out. Any excuse to quickly obliterate AI is welcome here. Bill and co. can capture the rest of the base once we jet.