



It requires a “Battery Replacement Kit”

Earlier this month, Nintendo officially confirmed it would release hardware revisions in Europe featuring replaceable batteries.
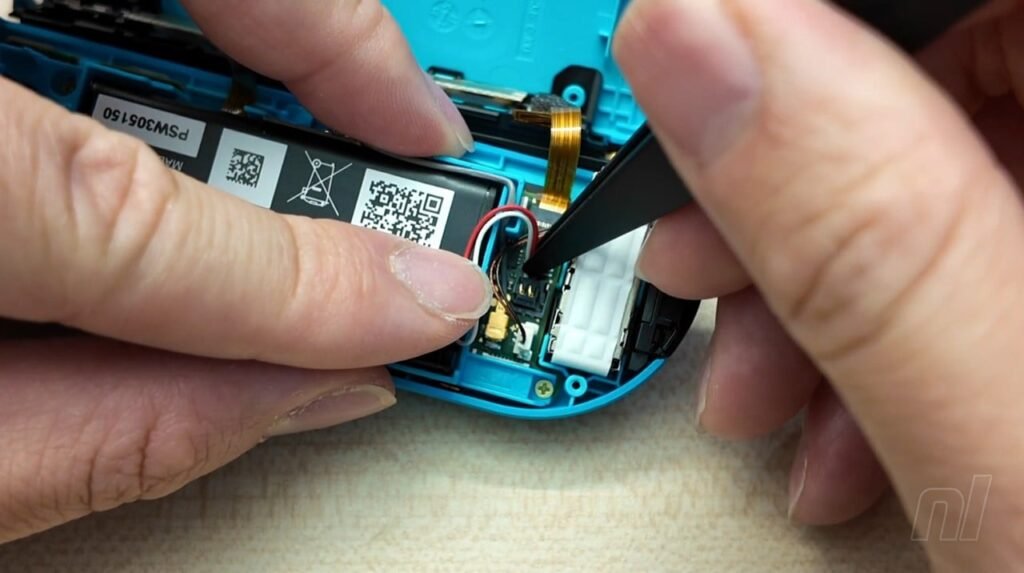
The procedure to replace the battery in the Switch Joy-Con controller has now gone live on Nintendo’s support page. Keep in mind this will only work with certain models of Joy-Con. It’s a 13-step process intended for use with Nintendo’s Battery Replacement Kit, which comes with the following items:
- Replacement battery: model number HAC-006(-01)
- PH00 Phillips (cross-head) screwdriver
- Plastic tweezers
- Plastic spudger (the handle of the included tweezers can be used for this purpose)
- Double-sided tape (with blue film cover)
Subscribe to Nintendo Life on YouTube849k
As for the steps, here’s the process, and you get the full rundown for the left and right Joy-Con on the official support page:
- Remove the screws from the back housing
- Opening the back housing
- Removing the battery from the battery holder
- Disconnecting the battery cables and removing the battery
- Removing the old double-sided tape
- Applying new pieces of double-sided tape
- Peeling the blue film off the double-sided tape
- Securing the new battery
- Checking the position of the antenna and antenna cable
- Connecting the battery cables to the circuit board
- Reassembling the back housing
- Reinstalling the screws to secure the back housing
- Checking the installation
The new European Union regulation, allowing users to replace batteries in hardware, will come into effect in 2027. Nintendo shared a full list of hardware revisions last week. It covers the Switch 2 and various controllers. It’s also confirmed it will stop selling the original Switch in Europe as of February 2027.